Rulers, Guides, and Grids
These features in Sketch will help you position layers exactly where you want them, by measuring distances between other layers, and aligning to a particular grid or layout.
Note: Rulers, guides, and grids are not part of your design, and won’t appear on exported images. They only appear as an overlay on your Canvas.
Rulers
Sketch enables you to display rulers that allow you to visualize coordinates on the Canvas. Rulers are hidden by default, but you can enable them via the menu. Choose View › Canvas › Show Rulers (or press Control-R)
Because of Sketch’s infinite Canvas, rulers are not fixed; you can click-and-drag a ruler around to define your own zero origin. If you need to reset the ruler origin, just double-click the ruler intersection area.
Guides
You can click anywhere on the ruler to add a guide, and they’ll stay visible whenever the ruler is enabled. Once a guide has been added, any layer you move close to the guide in the Canvas will ‘snap’ to it.
Guides can be moved and repositioned by clicking-and-dragging the guide inside the ruler. To remove a single guide, move it to the Layer List or Inspector until you see the pointer changes to a Delete icon ![]() .
.
You can move all the Guides at once by clicking-and-dragging the ruler, and you can also remove all horizontal or vertical guides (depending on the ruler) by Control-clicking a ruler, and choosing from the shortcut menu.
Unless moved, these guides are otherwise static. However their cousin, the smart guide comes into effect when moving layers close to existing ones.
Grids
Grids allow you to design with precision, to make sure that you’re using consistent sizes and positioning no matter if you’re designing for the web, mobile applications, or icons.
Sketch has support for two kinds of grids; a regular (square) grid and a layout grid. Depending on the kind of work you need to do in Sketch, you may want to use one or the other, although it’s possible to view both.
Regular Grid
The regular grid is a typical square grid, that has settings to adjust the size of the blocks, to determine how often thicker lines should appear, as well as the ability to change the color of both options.
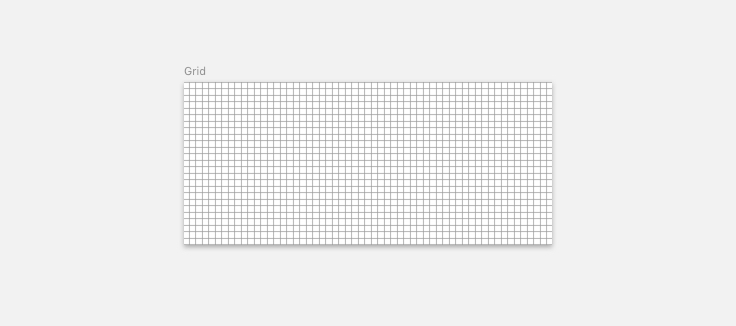
Choose View › Canvas › Show Grid in the menu (or press Control-G) to enable the grid. To edit the grid, choose View › Canvas › Grid Settings….
Layout Grid
The layout grid lets you define columns and rows, and is ideal when you’re designing for the web.
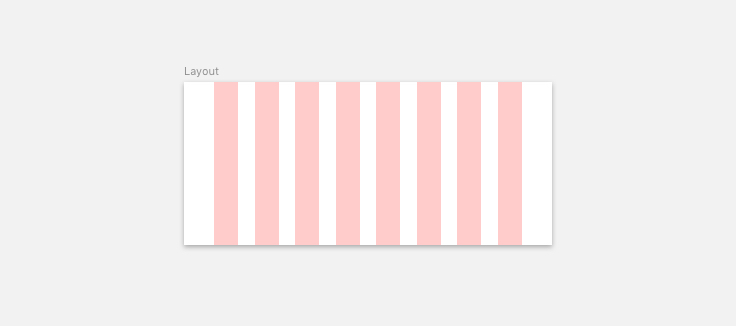
With the layout grid, you can display columns, and rows along with appropriate settings for each. Choose View › Canvas › Layout Settings… in the menu to display the options.
Column options offers the ability to adjust the total width, with additional column and gutter widths, the number of columns, and whether there should be an offset.
Row options allow you to adjust the height of the gutter, and how tall rows should be in relation to the gutter height. Visual settings that affect both columns and rows allow you to change the color, as well as determining how they should be displayed.
Grids can only be applied to Artboards, or a Page if no Artboards are set. You can edit the layout or grid for multiple Artboards at the same time.
Note: When grids are enabled, any objects will snap to the grid when moved, and will ignore snapping to smart guides if the option is enabled.
Make Grid
If you have layers selected that you would like to distribute evenly you can use the Make Grid tool. Choose Arrange › Make Grid… in the menu. You can specify the number of rows and columns for the grid to align your objects into, as well as the padding, or spacing between the layers.
The grid order will try to be determined based on your objects’ position on the Canvas.
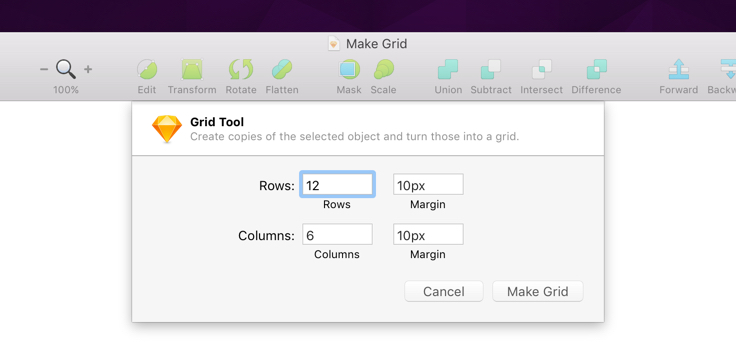
If the number of rows × number of columns is greater than the number of layers you have selected, Sketch will automatically duplicate the last layer to fill the grid.
