Moving Layers
You can move a selected layer by grabbing and moving it around with the pointer. To restrict movement to a particular axis, hold down the Shift key as you drag.
As you move (or resize) your layer, Sketch should automatically align your layers to adjacent layers. If this doesn’t happen, you might have accidentally hidden smart guides. To enable them, choose View › Canvas › Show Smart Guides in the menu.
If you hold down the Option key while dragging, you will clone the layer, leaving the original layer in its place. If you then immediately press Command-D (duplicate), Sketch will insert another duplicated layer at exactly the same offset as your first duplicate.
You can also drag-and-drop layers to the Pages panel to quickly move objects between different pages.
Moving an Obscured Layer
Another complication of overlapping layers is moving an obscured layer. Normally, when you click-and-drag a shape it will immediately be selected—if it wasn’t selected yet—and moved to its new location.
Very often this is a convenience, but it can be a hindrance as well if you’ve got a layer selected that is completely obscured by another layer. Clicking on the layer would instead select the layer on top and move that one.
To get around this, you can hold down the keys, Option-Command and then clicking-and-dragging will not change your selection. You can even click-and-drag somewhere completely different on the Canvas and Sketch will still preserve your selection:
Aligning Layers
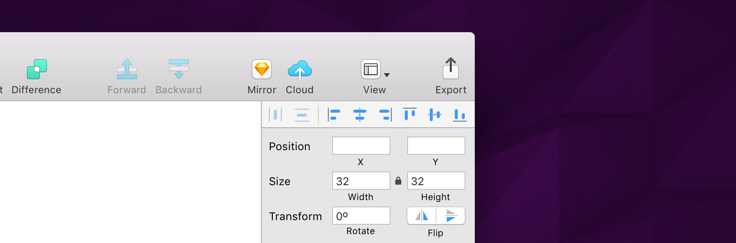
In addition to quickly moving selected layers, you can align and distribute them evenly by using the following buttons in the top-right corner of the Inspector:
The first two are for distributing layers horizontally ![]() and vertically
and vertically ![]() . You can also choose Arrange › Distribute Objects or use these shortcuts; Control-Command-V or Control-Command-H. If you want to distribute the layers with fixed spacing then you can use the Make Grid tool. These options also take the pixel fitting preference into account to help you to be as precise as possible.
. You can also choose Arrange › Distribute Objects or use these shortcuts; Control-Command-V or Control-Command-H. If you want to distribute the layers with fixed spacing then you can use the Make Grid tool. These options also take the pixel fitting preference into account to help you to be as precise as possible.
The next six buttons (align left ![]() , horizontally
, horizontally ![]() , right
, right ![]() , top
, top ![]() , vertically
, vertically ![]() , and bottom
, and bottom ![]() ) are for aligning layers among themselves or to the Artboard.
) are for aligning layers among themselves or to the Artboard.
When multiple layers are selected, the MacBook Pro’s Touch Bar will display the above distribute and align controls right on the keyboard for easy access.

To align a layer to the Artboard, hold down the Option key and choose the align button you desire. You can also do this with multiple layers simultaneously. Another approach is to first group the objects by using the Group item in the toolbar.
To align layers to a specific object, first lock that layer by using the lock button ![]() in the Layer List or by using Shift-Command-L. If no specific object is selected, Sketch will align the layers to the outermost layer of all those selected.
in the Layer List or by using Shift-Command-L. If no specific object is selected, Sketch will align the layers to the outermost layer of all those selected.
