Editing Symbols
There are two ways you can edit a Symbol. You can edit the contents in the Symbol’s master, or you can edit individual instances with overrides.
Editing the Master
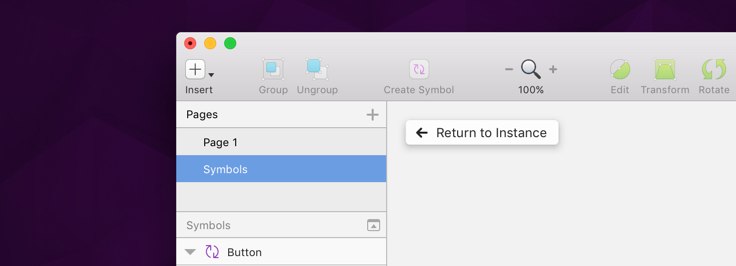
To edit a Symbol’s contents, you can double-click on an instance and it will take you straight to the master no matter its page or location in your document. If you’ve placed your master on the Symbols page, you can navigate to it manually via the page picker in the Layer List and edit its contents inside the Artboard.
Any edits you make to the Symbol’s master are immediately reflected throughout all the instances in your document. After you’ve made the desired changes, click on Return to Instance to view them.
When working with complex documents with repeating elements, Symbols can save you a lot of time. For example, when a Symbol contains a text layer, you can make changes to the text layer’s properties in the Symbol’s master. Or you can only update individual instances through overrides in the Inspector. We’ll review how you can do that in the section below.
Overrides
When you select a Symbol instance that contains text or image layers in the Canvas, you will notice the Overrides section in the Inspector. In the Overrides section you can override nested Symbols, the contents of any text layers, images and image fills, as well as the opacity and blend mode for that instance. Overrides allows you to update each instance independently with unique content. If there are no overrides present, you will see the default values from the Symbol’s master. See the video below for a quick tutorial:
To apply image overrides, all you need to have is either a bitmap layer, or an object with an image fill in the master. With the instance selected, you can click the Choose Image button in the Inspector or drag an image from outside Sketch into the image preview. This is a great way to update instances that require the same design but may feature different content.
When you update a text override, its total length may change. As a result, Sketch will automatically move any trailing layers on left or right aligned text, and respect the distance between it and the end of the text layer so you can fully take advantages of Symbols and overrides, no matter your design.
To prevent a trailing layer’s position to update when editing a text override, simply lock the layer by Control-clicking it, and choosing “Lock Layer” from the shortcut menu.
All three overridable layer types; nested Symbols, text, and images can be prevented from appearing in the override section of the Inspector by locking the respective layers.
Editing Library Symbols
If you’re wanting to learn more about how to edit a Symbol that belongs to a Library, then please refer to the Library Symbols page.
