Organizing Symbols
When working with complex documents, sending Symbol masters to the “Symbols” page provides you with an overview and helps you stay organized.
Although it’s not necessary to place your Symbol masters to a dedicated page, doing so is an ideal way to organize your document to make sure that Symbols in their Artboards don’t get in the way of your design.
If you choose not to send a Symbol to the “Symbols” page when you create it, you can send it there, or to any other page in your document, by dragging the Symbol in the Layer List on to one of the page titles. You can also send a Symbol to the “Symbols” page by control-clicking it and choosing the option in the contextual menu.
Symbol Naming
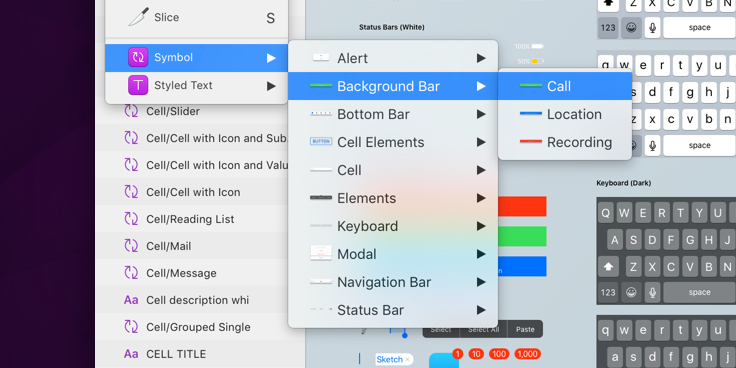
If you choose Insert › Symbol, you will see a pop-up menu containing the Symbols in your document in an alphabetical order.
If you include a slash (/) in your Symbol’s name, Sketch will treat these as group separators. For example, two Symbols named Button/Normal and Button/Pressed will be grouped together into a submenu called Button.
Swapping Symbols
You can swap Symbols using the pop-up menu in the Inspector. In the example of a pressed button and a normal button, you can see you can swap between the two with an ease. You can then use overrides to customize each instance.
Aside from that, any layer can be swapped with a Symbol. Control-click the layer you want to replace, and choose your Symbol via the Replace With option in the contextual menu. When you replace a layer with a Symbol, the Symbol will inherit the size of the previous layer.
