Account Setup
A Sketch Cloud account isn’t required to view documents on the web — but it can allow you to do so much more — such as comment, be invited to, and uploading documents directly from Sketch.
Creating an Account
Creating an account with Sketch Cloud couldn’t be easier. Simply go to the Sketch Cloud website, and enter your name, email address, and a secure password. By signing up for a Sketch Cloud account, you must agree to our Terms of Service.
Alternatively, from within Sketch’s preferences, choose the Cloud tab and click “Create Account…” to be directed to Sketch Cloud. By doing this, we will redirect you back to Sketch where you’ll be signed in.
Once signed up and signed in to Sketch Cloud, we will send you a verification email to make sure you created the account. You’ll need to verify the email to complete the sign up process and to continue using Sketch Cloud.
Linking to your account from Sketch
If you want to upload your documents to Sketch Cloud, open Sketch and choose Preferences › Cloud and click “Sign In…”. Sketch Cloud will open in your default browser, and you’ll see a message telling you that you have successfully signed into Sketch.
Please note, that if you would like to upload your documents to Sketch Cloud, you must have an active Sketch license. You can check the status of your license if you click “Sketch” in the application menu, and choose “About & Registration”.
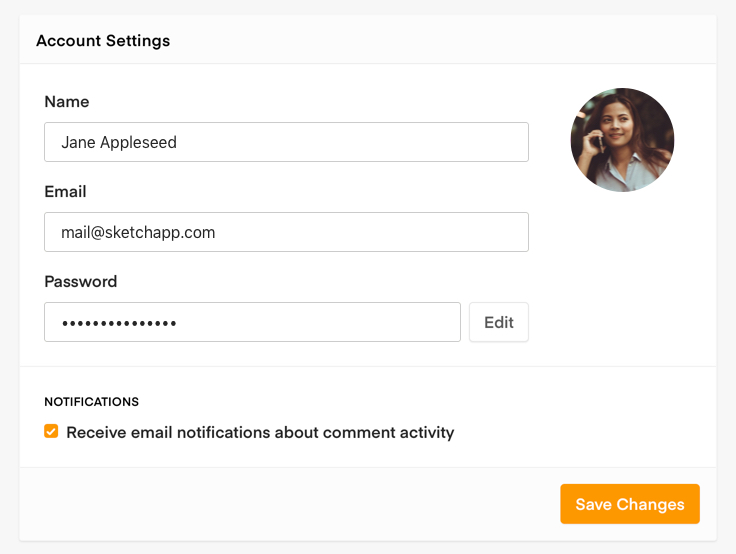
Account Settings
You can change the details of your account at any time. When on Sketch Cloud, click the circular avatar in the top-right corner, and choose “Account Settings”. Here you can update your name, email address, and password. You also have the ability to give yourself an avatar which will show up alongside your name when you leave a comment on a shared document.

Your email preferences can be managed on the account settings page, where you can choose to be notified on any comment activity. If you would like to delete your Sketch Cloud account for any reason, you will be able to delete it here.
