Gradients
To apply a gradient fill to a layer, click the color button under the Fills section of the Inspector, and choose one of the gradient buttons at the top of the popover.
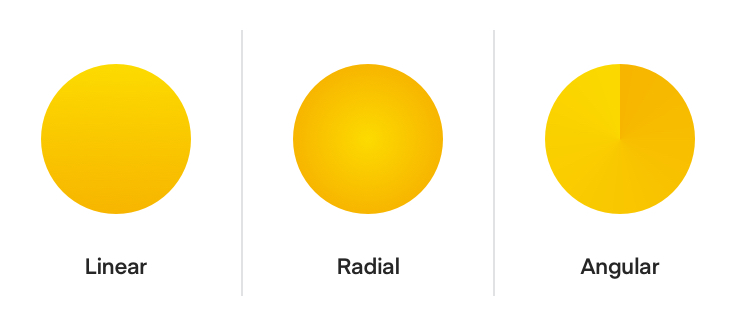
The three gradient choices available to you are linear, radial, and angular but they work in much the same way.
Linear Gradients
Linear gradients tend to be the most common, where two colors will appear at opposite points of an object and will blend, or transition into each other.
Each of these colors are represented by a stop ![]() , any of which you can click on to adjust the color via the color picker. Updating one of these color stops will immediately update the gradient on the Canvas.
, any of which you can click on to adjust the color via the color picker. Updating one of these color stops will immediately update the gradient on the Canvas.
You can insert as many different colors to your gradient as you like. To do this, click on the line that appears between two existing stops on the Canvas to add another and adjust the color. You can click-and-drag any of the stops to adjust their position, or to change the direction of the gradient.
To remove a color from a gradient, select it in the Canvas and press the Delete or Backspace key on the keyboard.
Radial Gradients
A radial gradient will create an effect where the transition between color stops will be in a circular pattern. By clicking-and-dragging the stop in the center of the effect, you can place where you want your gradient to begin, and by adjusting the opposite stop, you can change the distance where the effect will end.
The third point that appears on the circumference and isn’t connected to the center will change the shape of the radial gradient into an oval.
Angular Gradients
This effect allows you to create gradients that sweep around the circumference (measured by the maximum width or height of a layer) in a clockwise direction.
Any color stop can be moved by dragging, and you can add and remove stops as you could with any other gradient.
Gradient Bar
You can also edit gradients in the color popover as well as editing in Canvas. Below the buttons for changing the fill type is a gradient bar, above the color picker.

You can click to select any of the points here and drag to move them, click to insert a new point, and press the Backspace key to remove one when selected.
Shortcuts
With Sketch, you can finely adjust your gradients with a couple of handy keyboard shortcuts. You can press the 1-9 keys on when a stop (that isn’t the start or end) is selected to position it on the relative percentage of the gradient. So pressing 4 on a third stop, will place it at 40% along the line.
If you want to position a stop exactly between two existing stops, press the = key on the keyboard.
You can also use the Tab key to quickly switch between color stops, and you can use the arrow keys to adjust the position of a stop incrementally. Holding down the Shift key will amplify the movement.
