Colors
In Sketch, the color picker is accessible from the Inspector once you have any layer selected. Simply click on the color button for any fill, border, or shadow to reveal the popover.
The large color picker is based on the HSB (Hue, Saturation, Brightness) color model. If you drag the point ![]() horizontally, you can make the color more, or less vibrant, whilst dragging vertically will adjust the brightness of the color.
horizontally, you can make the color more, or less vibrant, whilst dragging vertically will adjust the brightness of the color.
To change the hue, or tone, click-and-drag the slider below the picker. You can always see a preview of the selected color to the right. You can adjust the alpha, or opacity for the color using the slider below.
If you’re working with a set of colors that have already been defined, then to allow more room in the popover you can hide this entire section so you can view more presets in the popover.
Eyedropper
You can use the eyedropper button ![]() , to the left of the hue and alpha sliders to sample any color on your display. This is a great way to quickly choose a color from your design or an image in or out of Sketch.
, to the left of the hue and alpha sliders to sample any color on your display. This is a great way to quickly choose a color from your design or an image in or out of Sketch.
With any layer selected, you can change its solid fill color by pressing Control-C to summon the eyedropper tool, and clicking on any color.
Color Values
Underneath the controls to pick a color, you will see some text fields that contain the color in values that can be translated to code. The HEX value is its own field, along with RGB and A for alpha.
Note: you can switch to HSBA color values by clicking on the RGB label.
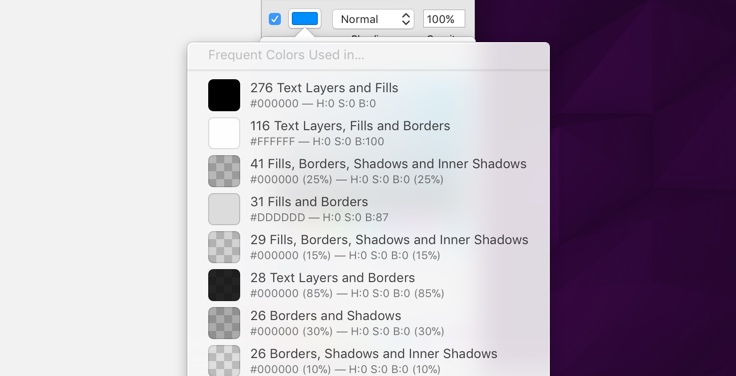
Frequent Colors
By clicking the color preview well (on the right of the hue and opacity sliders), this will reveal a list of your frequently-used colors for the current document, as well as information about how often they’ve been used.
This makes it easy to reuse frequent colors without having to create presets from them manually.
Presets
Color, gradient, and image presets in Sketch come in two forms. Global, and Document presets. Global color, gradient, and image presets appear in every Sketch document, whilst Document color, gradient, and image presets only appear in the document they have been saved in.
This separation works really well when you’re working on many different projects that may have their own color scheme, whilst you can store your favorite, and important presets so they can be accessed globally. Just click the add button in the respective destination to store the currently selected style. You can click-and-drag to re-order presets and move them between the two sections.
When adding a color preset, the color’s alpha value will be respected.
Find and Replace Color
The Find and Replace Color tool allows you to select a color you’re using throughout a document and replace every instance of that color in one go. This can be a huge timesaver if you’re using the color you need to change throughout many different Artboards and Pages.
To change a color this way, choose Edit › Find and Replace Color… from the menu (or press Option-Command-F). Click the Find button to select one of the colors you’re using in your design, then choose your new color from the color picker after clicking Replace.
Selecting “Include all opacities of this color” will allow you to replace other instances that are using the same underlying HEX, or RGB values.
Choosing to select “Preserve original opacity” will make sure that your replacement color respects the opacity in instances that may be different to the opacity of the color you want to replace with. Leaving this option unselected will change the opacities of the color you’re finding to the opacity selected in the color picker.
Color Management
Sketch offers the ability to “color manage” your documents, to help ensure you can get the best out of the device that you are designing for. To learn more, please check out our Color Management article.
