Masking
Masks in Sketch are used to selectively show parts of other layers. For example, masking an image layer to a circle will give the image a circular shape.
Any shape can be turned into a mask. To do so, select the shape and choose Layer › Mask › Use as Mask in the menu (or press Control-Command-M). Any layers above the mask are clipped to the shape below.
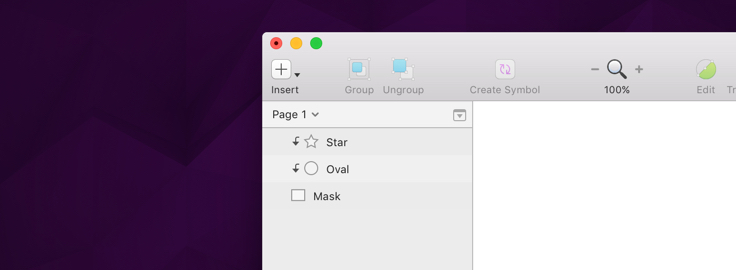
In addition, you can quickly apply a mask to bitmap images, simply by clicking the Mask item in the toolbar. This will automatically generate a rectangle behind the image to which it is masked.
Restricting Masks
If you don’t want all subsequent layers to be clipped, the best way to restrict the ‘influence’ of the mask is to put the mask and the layers you want clipped inside their own group. Anything above the group will not be clipped if the mask is inside the group.
Sometimes if grouping is not an option, another way to stop a mask is to do the following:
- Select a shape that is currently masked but that you don’t want masked
- In menu, choose Layer › Mask › Ignore Underlying Mask
This layer and any layers above it won’t be masked anymore. However, take care when you reorder layers as some may find themselves to be automatically masked!
Mask with Shape
If this all seems like a lot of work for masking an image, we have good news: Select a shape layer and an image on the Canvas and choose Layer › Mask › Mask with Selected Shape to use the shape as a mask on the image. Sketch will place both layers inside a new group and turn the shape into a mask.
Alpha Masks
By default, a mask works by taking its surface area and hiding the rest. Another way to work with a mask is to give it a gradient, and to use the opacity of that gradient to determine what should be visible and what shouldn’t be.
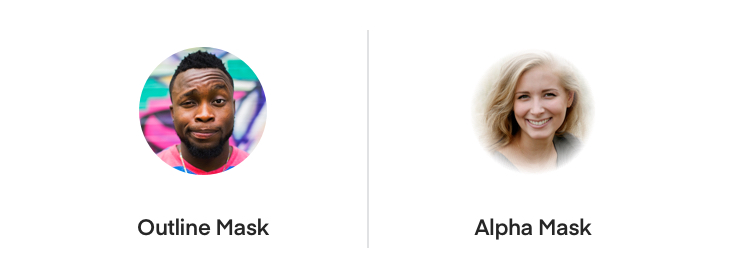
This second mode is available for masks by selecting your mask and choosing Layer › Mask › Mask Mode › Alpha Mask from the menu.
To see masking in action–where everything on this page is explained, watch the video below:
