Hotspots
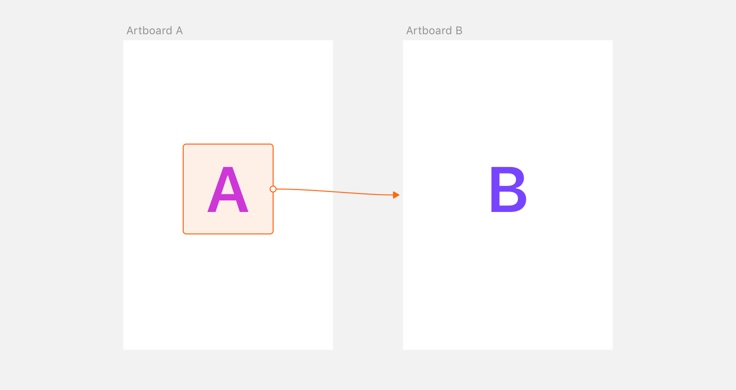
There are some cases where simply adding a Link to a layer may not be useful. For example, if you want the clickable area of a icon or menu item to be larger than the layer it’s inside. Hotspots allow you to draw a tap target over any part of your design and link it to an Artboard.
If it helps you can think of the relationship between Links and Hotspots as similar to exportable layers and slices.
A Hotspot can be added via the Insert menu, or you can press H to start drawing one. You can also convert a Link to a Hotspot by selecting the layer and clicking the “Create Hotspot” icon ![]() in the Inspector.
in the Inspector.
Just like a Link, when a Hotspot is selected, its Target and animation type can be defined under “Prototyping” in the Inspector.
Hotspots are particularly useful as they can belong inside Symbols where their target destination can be overridden, allowing you to reuse a Symbol but change the Target destination each time — something that is not possible with Links. If you have a Hotspot inside a Symbol this also lets you hide the Hotspot by choosing “None” in the overrides panel.
You can customise the colour of Links and Hotspot layers in the Canvas tab in Preferences. When working on complex prototypes the Canvas can get quite busy. If you want to show or hide Links and Hotspots go to View › Show Prototyping (or press Control-F) to toggle them on and off.
