Vector Tool
Instead of starting with a predefined shape, you can also draw shapes by using the Vector tool. Choose Insert › Vector from the pop-up menu in the toolbar and click anywhere on the Canvas to add your first point. Click elsewhere to add the second.
You will see that a path now connects both points. Now when adding a third point, click-and-drag to draw a curve. If you click again on the first point, you’ll close the path.
Points will be placed on full pixel values, however it is possible to change the Rounding options to get even more control.
Point Types
As seen, a shape is made up of a series of points — and there are different types of points available which can affect the paths that lie between them. With a point selected, you can see four types in the Inspector; Straight, Mirrored, Disconnected and Asymmetric.

Straight
This is the default point type you’ll see when clicking to insert a new point, and it will give you a straight path, useful for drawing things at angles, such as corners.
Straight points don’t offer you any handle control points (as these are used to create curves), however, with a Straight point you have the option to create rounded corners, by clicking-and-dragging the slider underneath the point types.
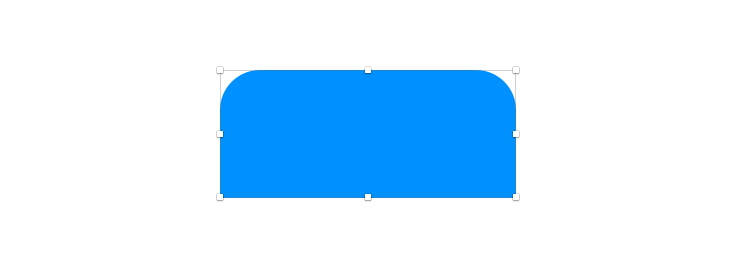
Being able to control corner radius on a per-point basis allows you to have different radii per corner; you can just round the top two corners and keep the bottom two right-angled, for example:
Double-clicking a Straight point will convert it to a Mirrored point, and will change it back if you double-click again.
Mirrored
A Mirrored point can be inserted by clicking-and-dragging, and will create something called a Bézier curve — which is a curved path. Coming out from the point are two handles, with handle control points at either end. These will mirror each other and sit an equal distance from the point.
These handle control points will ‘pull’ the path towards themselves and can be dragged around to adjust the curvature of the path. Because the point type is Mirrored, dragging one handle control point, will move the other to create a completely smooth curve.
Asymmetric
For this point mode, handle control points will appear similar as they do in Mirrored — they will share the same angle, but they can be positioned at an independent distance from the point.
When clicking-and-dragging to adjust a handle control point, holding down the Shift key will adjust the distance between the control point, and its vector point without affecting the handles’ angle. Perfect for trying to fine tune the curve at one side of a point.
Disconnected
When a point is Disconnected, its handle control points are completely independent of each other. You can even press Backspace with one of the handle control points selected to delete it, allowing a curve to sharply turn into a straight line where the point lies.
When placing vector points, it’s possible to convert your Mirrored or Asymmetric point to a Disconnected one by holding down the Command key when you place your next point. This won’t affect the curve leading into that point. You can also do this with existing Mirrored or Asymmetric points by holding Command before clicking-and-dragging a handle control point.
Shortcuts
Either while drawing, or editing your vector shape, you can easily change its type via one of its keyboard shortcuts. With your point(s) selected, press one of the following keys:
| 1 | Straight |
| 2 | Mirrored |
| 3 | Disconnected |
| 4 | Asymmetric |
Each of these point types can also be adjusted in the Touch Bar when a point is selected.

When inserting points, holding down the Shift key before adding a new point will align it at a 45º increment from the previous point, no matter the point type.
